
There’s no better way to combine acquiring basic networking skills as well as building a useful system than to build your own home network. Starting out with a 128KB/s connection and an old FRITZ!Box which used to crash multiple times a day in 2010, an increasing need for networked services like media and file storage, database and remote access as well as hosting various game servers and this site developed into a small home network centered around a Raspberry Pi 4 (it was cheap (I was poor)).
A long Ethernet cable guided above doorframes and behind furniture connects an 8-port NetGear gigabit switch in my room with the main router/gateway. This switch in turn has connections to my desktop, the TV, a wireless access point and the Raspberry Pi. The Pi has to do the heavy lifting of not just acting as a NAS by means of two 5TB external HDDs and SMB network shares, but also of serving and transcoding media files through a Plex media server and running various utility scripts and services as well as a database. This Pi is the literal backbone of my computer science degree since everything I do is stored on the NAS which I access through it.
Two important areas, transcoding media and hosting video game servers like Minecraft and Garry’s Mod, are too much for the Pi, which only has 4GB of RAM and a quad-core ARM-Cortex-A72 SoC. Another problem is the fact I don’t have a proper VPN set up (and also don’t use SSH tunneling which I really should) to access these services remotely, so I have all ports open in principal which is not great to say the least, especially when remotely accessing important files.
Because I’m moving next month and have to disassemble everything, I’ll take this opportunity to tackle these issues and ensure two things by upgrading to a better, more performant home server:
While rummaging through my old tech drawer I found an old i5-8400 CPU which was the previous model I used. Since I stored it properly (I keep all my old CPUs) and the LGA pins didn’t show any signs of damage whatsoever, I figured it should still work and ordered a DeskMini 310 whose H310M-STX mainboard has a Mini-STX form factor (147mm x 140mm) which is way smaller than the 244 x 244mm size of a microATX board. I ordered an additional cooler since the Intel stock cooler would probably not suffice as well as 16GB (2x8GB) of DDR4-SODIMM which is smaller than regular DIMM sticks and usually installed in laptops. 8 GB would’ve probably been enough, but I want to host Minecraft server(s) and RAM is cheap right now, so why not.

I’m going to use WireGuard to create a secure tunnel into my home network due to its simplicity, speed, robustness and Linux kernel integration. Use cases for external access include accessing the NAS, Plex media server and potentially main desktop for high-performance workloads. I will also move my website from Frankfurt to the new server which is why I still need to open port 443 for HTTPS. I will also switch my dynamic DNS provider from No-IP to Duck Dns since they are free, simple and don’t require manual intervention. I will then point bengel.xyz to the new dynamic DNS address using a CNAME DNS entry.
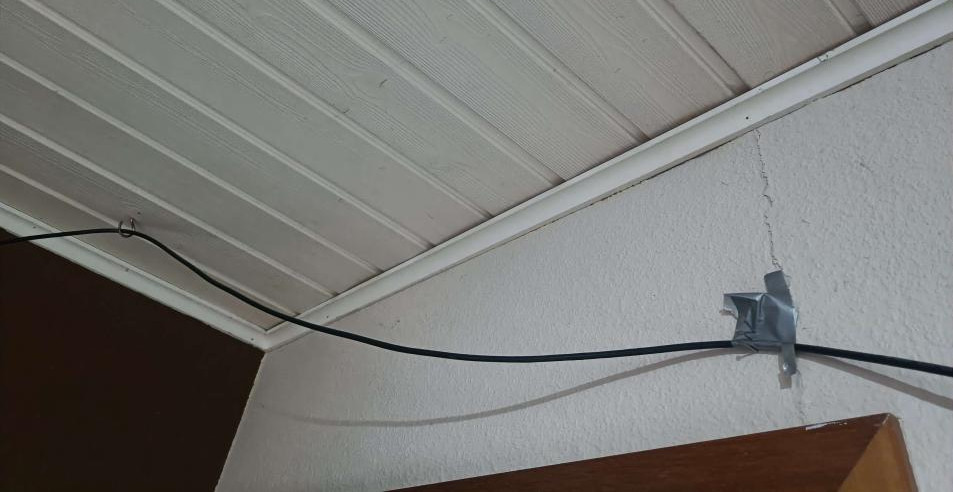
Right now I still have to wait for the RAM to arrive before assembling the machine, but moving everything over should be pretty easy so the new server can be put to work probably some time next week. I’ll keep my mirrored configuration with daily backups through rsync and cron since it’s simple and I don’t need high read speeds anyway, but in the future (i.e. when I have more money) I definitely want to get three or more large SSDs and set up a proper RAID and maybe even split data storage from other server needs completely by buying one of those fancy NAS towers that can house multiple drives. I also want to run networking cables through the house in a proper way instead of doing this:
Going through the attic seems to be the simplest way, although I don’t know anything about installing cable ducts in walls. That’s a problem for future me.